


How to install a sign frame
As a happy MyDoorSign customer, you want to spruce up your wall with a new sign. However, your new acquisition could use an elegant touch. Investing in a new sign frame is a great way to feature your new sign on the wall with proper support, adding polish to the room. This guide will help make the installation of sign frames a painless process, whether you’re handy or hammer-phobic.
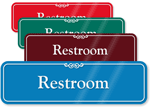
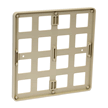
Pick the sign frame that best complements your decor.
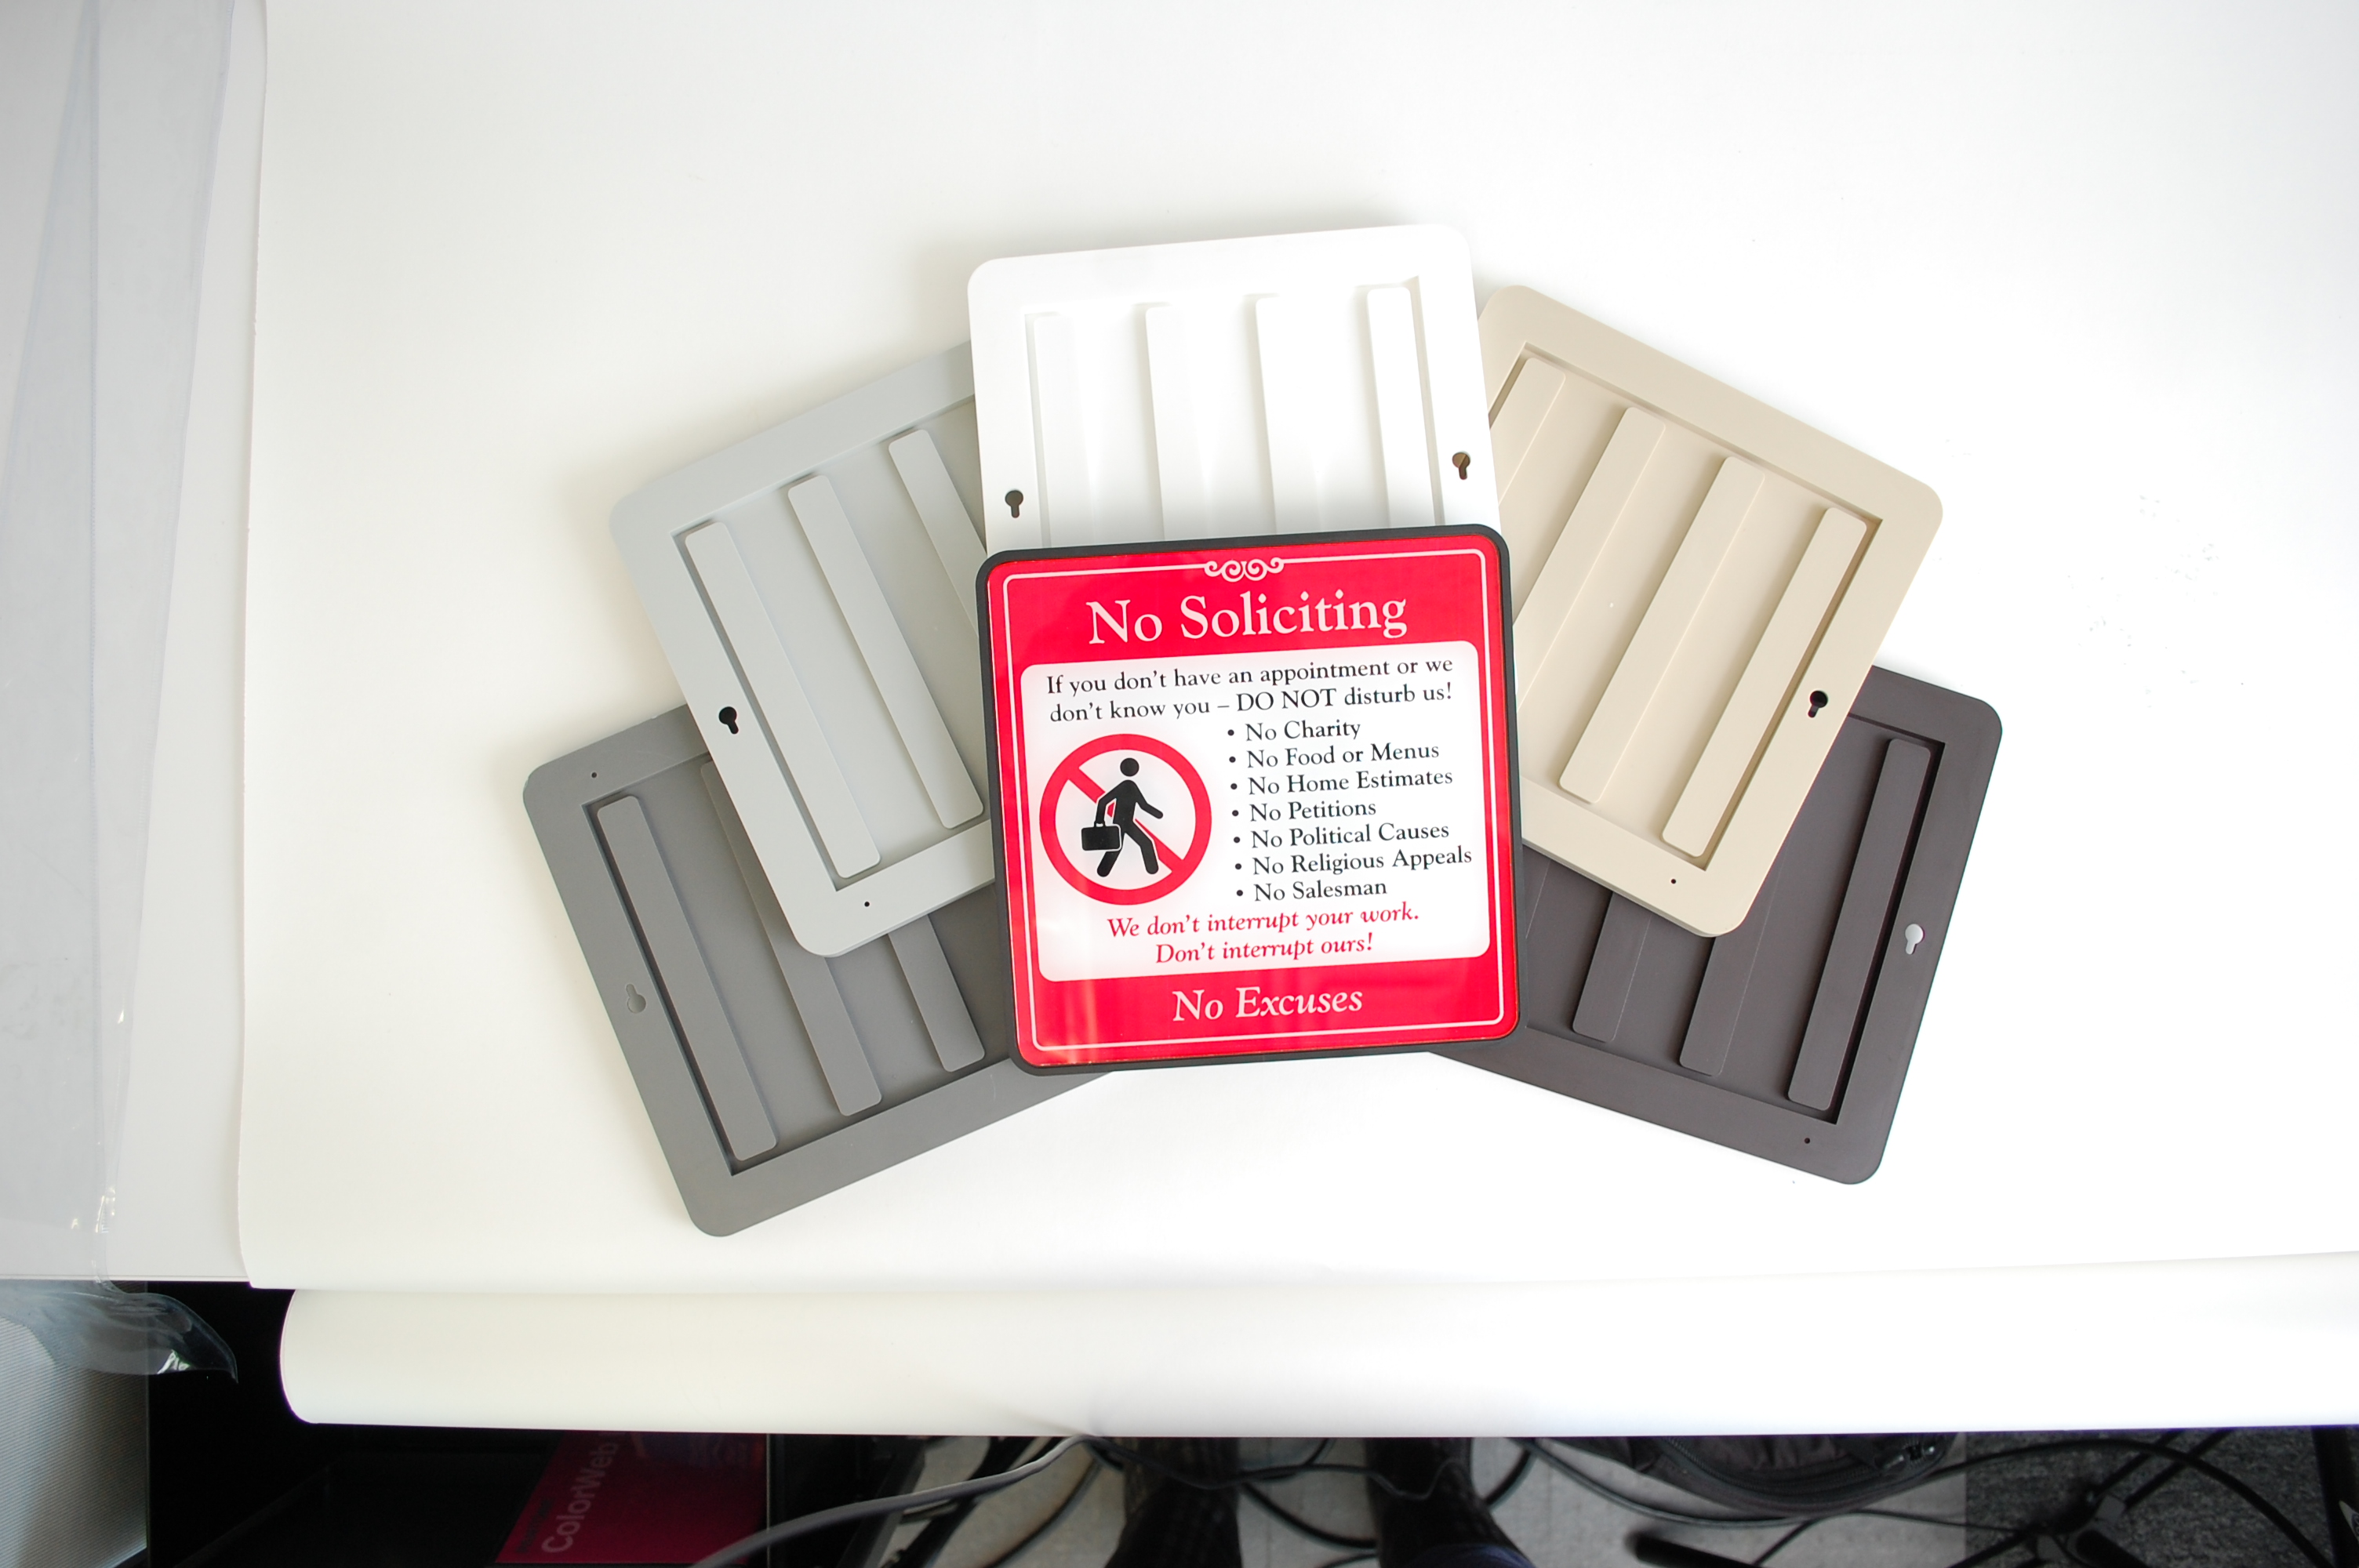
1. Select the frame that best accentuates your wall and matches your decor. Choose from pewter gray, white, medium gray, almond, brown, or black.
The frames can easily be screwed into place.
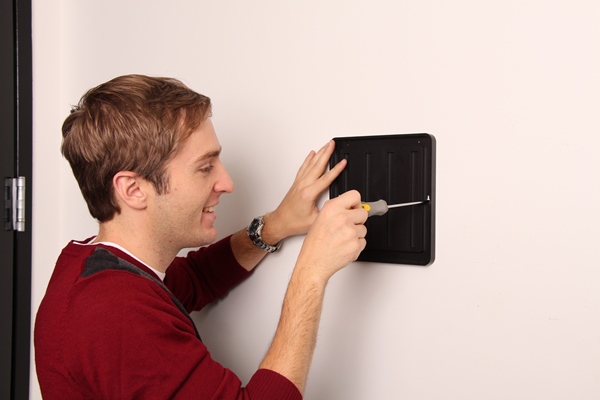
2. Screw the frame into the wall or fasten it with adhesives. Each of MyDoorSign’s signs come with foam adhesive strips to attach easily to the wall, as well as screw openings to firmly hold the sign in place.
3. Office environments change. Perhaps you decide to use a room for a different purpose and want to change the sign. Thanks to holders, you can interchange signs with the changing purposes of the rooms. Place the sign in the frame’s molded plastic holder. The holders make it easy to snap the sign in or out if you want to change your message quickly.
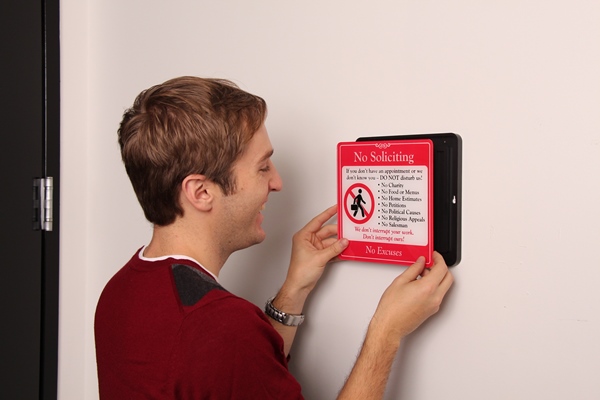
The sign snaps easily into the frame holder.
4. Make sure it’s about eye level–anywhere from the average height of an American man or woman: 69.4 to 63.8 inches.
5. The sign should be adjacent to the door or on the door.
Sign frames are a small investment with a big return, adding professional ambiance to any room.
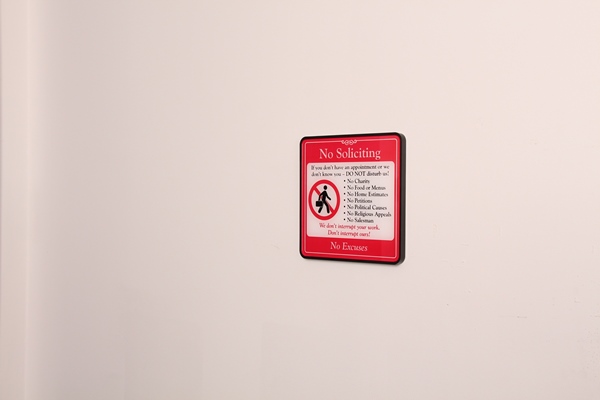
A frame ensures that a sign is fixed sturdily against the wall and provides a professional look.
If you need special instructions for hanging ADA signs, check out this article.
Like this topic? Check out our related products:
-
Sign Frames
-

No Soliciting Door Signs
Category: New Products, Office courtesy

